
make your own home menu
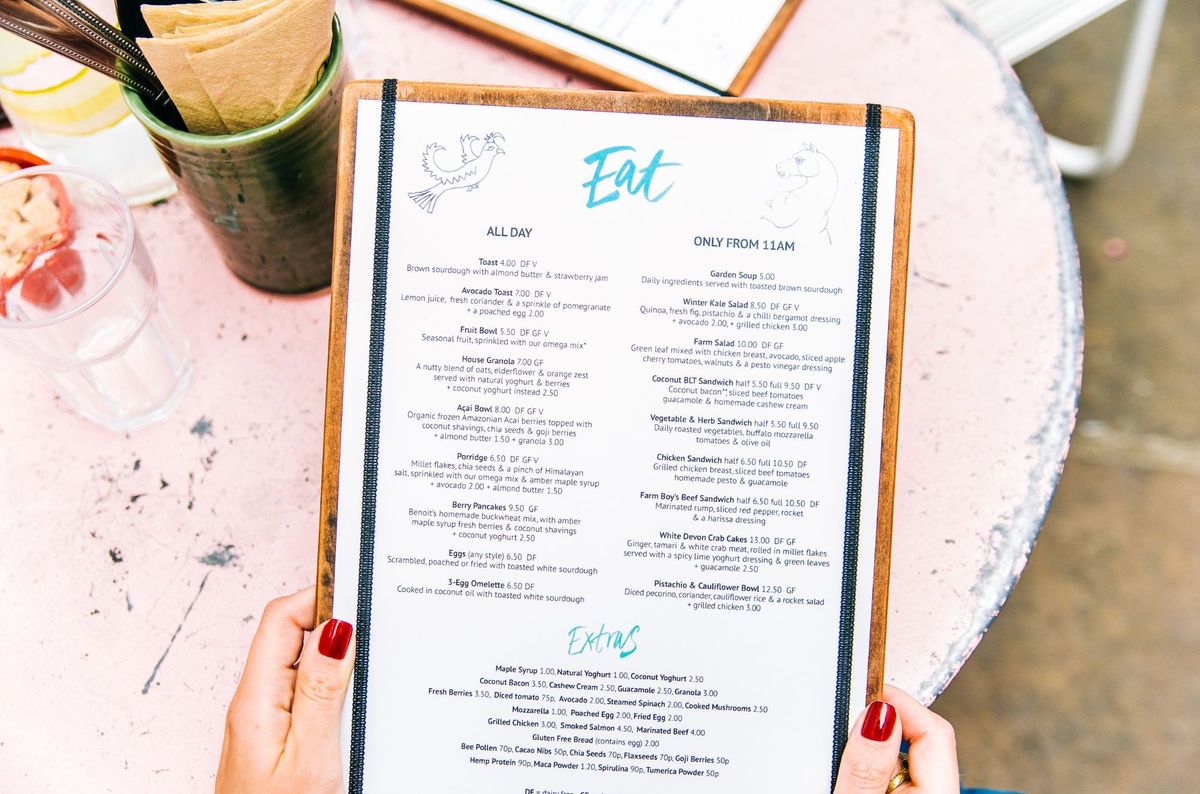
remembering a life in food
Writing the menu of my life has been one of my most satisfying undertakings.
It started with making a list of food I wanted to try and blossomed into a lengthy reminiscence of all the most delicious things that have ever touched my lips.
As I listed, items kept popping into my head. Memorable restaurants, childhood comforts, happy celebration meals shared with loved ones. Two to three meals a day, 365 days a year, over a lifetime.
Not every meal was a keeper. Some just weren't my taste or fell out of favour as my palette developed. Some would have benefitted from improved technique. Some were just downright gross, but many were absolutely amazeballs.
It has been quite the trip down memory lane to remember them all.
After making my master list, I started trying to categorise them. And then categorise them some more. Turns out I've eaten a lot of really delicious things.
My current menu stands around 50 pages – drinks, snacks, meals and desserts, with many, many subcategories in between.
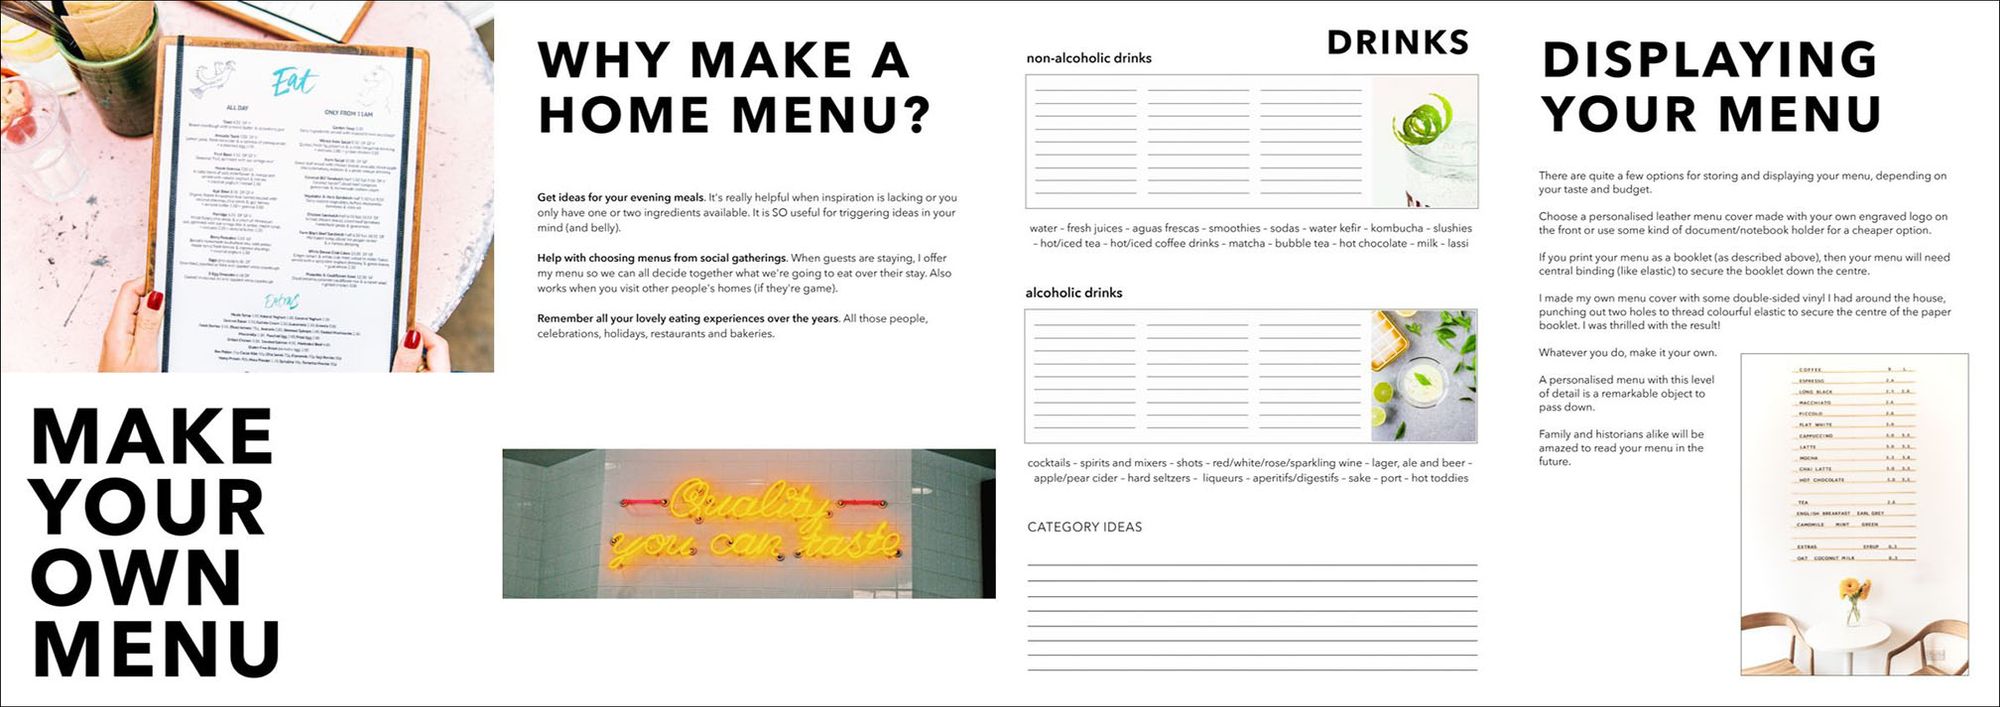
why make a home menu?
- Use to get ideas for your evening meals. It's really helpful when inspiration is lacking or you only have one or two ingredients available. It is SO useful for triggering ideas in your mind (and belly).
- Help with choosing menus from social gatherings. When guests are staying, I offer my menu so we can all decide together what we're going to eat over their stay. Also works when you visit other people's homes (if they're game).
- Remember all your lovely eating experiences over the years. All those people, celebrations, holidays, restaurants and bakeries.
how to make your own menu
your favourite meals
- Make a list of all your favourite drinks and meals.
- Spend some time thinking about meals from the past – it can be a slow process to remember meals from so long ago. My menu took weeks and weeks of work, so don't worry if you don't get all the items first time round. Once you start, your brain will keep ticking away at the task and you'll find tasty treats popping into your head when you least expect it.
- Keep adding items to your menu as you eat them or remember them.
classifying your menu
- When you have a good number of items, start to think about how you would classify them. You can start with drinks/starters/mains/desserts and expand from there or you can think a bit harder about how you and your household actually eat and classify accordingly. My final menu has seven main categories, 32 subcategories and 28 more sub-subcategories!
I've made a free download with brainstorming worksheets, plus all my 60+ categories for community members to remember their own meals if you need some inspo!
Join for free today and download my menu guide
recording your menu influences
When making my menu, I also took the opportunity to record all my menu influences – the geographical regions, restaurants and bakeries, cookbooks, magazines, websites and food creators that had a direct role in inspiring the food on my menu.
It's a nice way to record the rhythms and history of your food life and gives a little shout out to the people who have helped you eat so well over the years.
foods you want to try
The final section in my menu is a list of foods that I want to eat, but haven't got round to cooking yet. I'm always looking for ideas – around the internet, in restaurants, from people I meet – and it helps me keep them all in one place. Some of them make it onto my final menu, other do not, but it's a fun experiment along the way.
printing your menu
Your menu can happily live in digital form, but it's nice to have a printed copy to share with visitors or to thumb through yourself.
You can just print it off as a list, but I think you get a better result to print as a booklet, in the same vein as a real restaurant menu. I laid mine out on A5/US half letter pages and printed on both sides with A4/US letter size. You could also lay out your menu on A4/US letter pages and print both sides with A3/US tabloid size.
This is the easiest (free) way I have found to print a booklet:
- Choose your paper size and lay out the menu as a categorised list – I use Pages for Mac, but Word or any other word processing software is fine. If your software has the option, you can use 'facing pages' to get an idea of the final layout. In Pages, this is a tickbox option in the 'Document' sidebar towards the bottom.
- Export the document as a PDF (in Pages this is found under File/Export To/PDF).
- Download Adobe Acrobat Reader (Adobe's free PDF software) if you don't have it already.
- Open your PDF in the software and open the print dialog via File/Print.
- Under 'Paper Sizing & Handling' select the Booklet option.
- Other settings:
Booklet subset: Both sides
Sheets from: don't change this setting
Binding: Left
Orientation: Portrait (unless you're planning a landscape menu)
Do not tick 'Auto-rotate pages within each sheet' - Hit Print!
displaying your menu
There are quite a few options for storing and displaying your menu, depending on your budget.
Choose a personalised leather menu cover made with your own engraved logo on the front or use some kind of document/notebook holder for a cheaper option. If you print your menu as a booklet (as described above), then your menu will need central binding like elastic to secure the booklet down the centre.
I made my own menu cover with some double-sided vinyl I had around the house, punching out two holes to thread colourful elastic to secure the centre of the paper booklet. I was thrilled with the result!
Whatever you do, make it your own. A personalised menu with this level of detail is a remarkable object to pass down that family and historians alike would be amazed to read in the future.